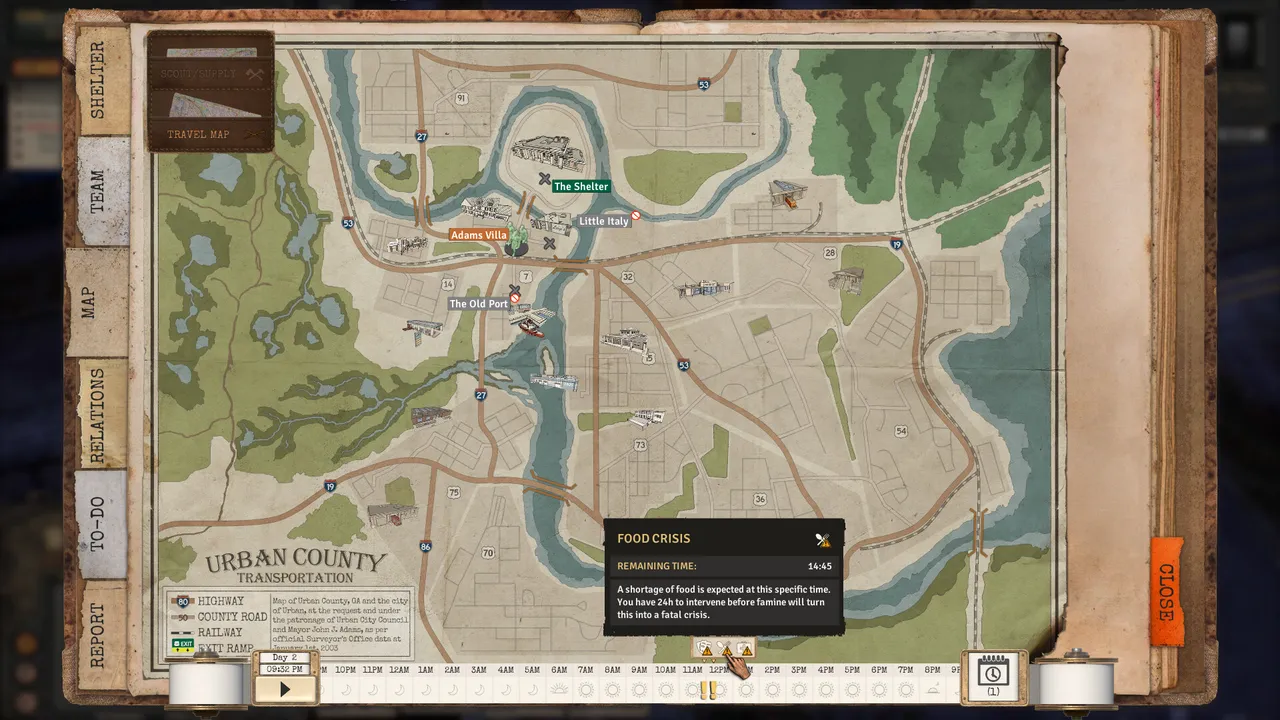
Urban Strife unfolds across a fictional county near Atlanta, moving outward from the suburbs around your shelter into the wider town and, eventually, the final siege. The maps below are the ones the developers have named through the game's development; the campaign is structured as a prologue in the suburbs followed by Act 1 and Act 2, plus additional bases and a hidden endgame location. Knowing what is on each map — which survivor waits there, what supplies it holds and how tough the fight is — lets you plan your route through Urban Strife instead of stumbling into it, which matters because you only get one pass at a location before its resources are gone.
Exploring Urban County
You move across the county on a living world map, on foot, by a customized zombie-proofed vehicle, or through subway tunnels. Locations range from urban ruins to forests and underground passages, and there are dozens of handcrafted places to explore. Scavenged resources do not respawn once a map is cleared, so gather everything you can for rebuilding. A rich economy runs through the black market and faction traders.
The most important rule for exploring in Urban Strife is that scavenged resources do not respawn once a map is cleared. That turns every location into a one-time supply run: sweep it thoroughly for scrap, food, water, ammunition and gear before you leave, because you will not get a second pass. Plan routes around what your shelter needs most, and clear maps fully rather than rushing the objective and abandoning half the loot. You travel between locations on foot, in a zombie-proofed vehicle or through subway tunnels, and the day-night cycle means the same map plays very differently after dark, when sightlines shrink and the undead are harder to spot.
Prologue: the suburbs
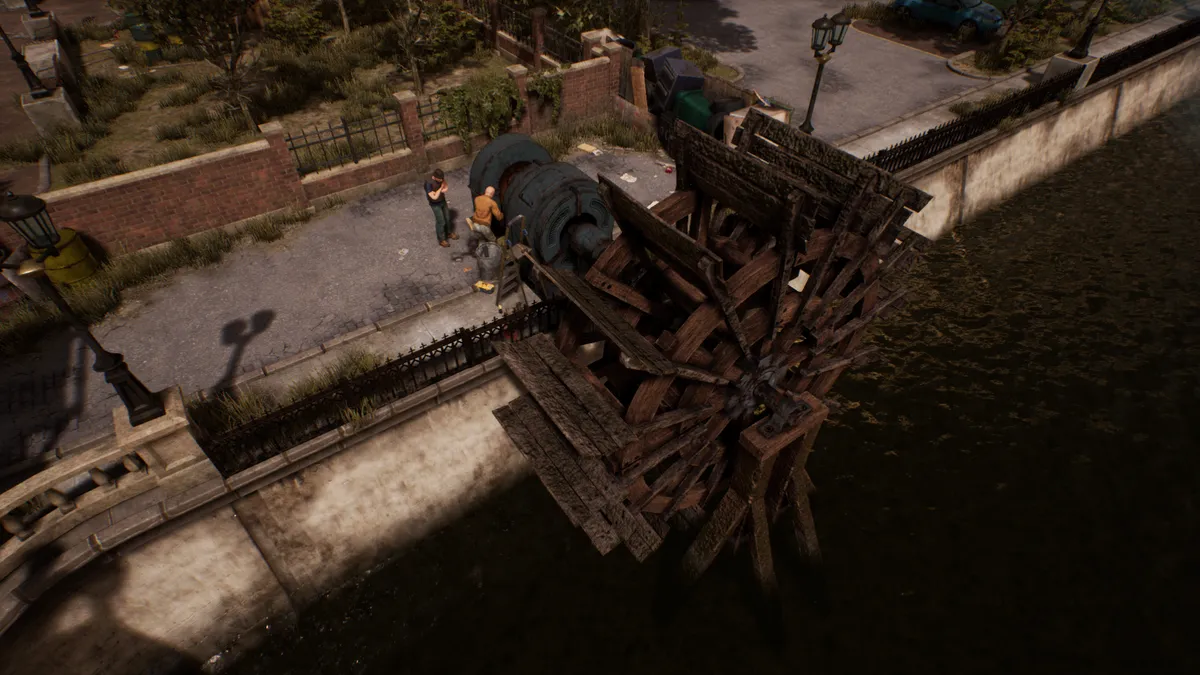
The early maps near Urban Shelter where you recruit your first survivors beyond the starting three. These early maps are the safest ground in Urban Strife and the place to learn its systems, and each hides one of your first recruits beyond the starting three.
| Map | What's here |
|---|---|
| Adams Villa | Where Brother Joseph can be freed once the area is cleared. |
| Little Italy | Where you find the biker trader Bubba Gimme. |
| Old Port | Where the soldier Benny Ramm is recruited. |
Clear the suburbs carefully and you leave the prologue with a fuller squad and a stockpile for the shelter. Because companions are permadeath, treat these introductory fights as practice for keeping everyone alive rather than a race to the next act. Adams Villa in particular is worth clearing on good terms with the church, since that is how you free Brother Joseph, while Little Italy and Old Port each hand you a survivor tied to one of the factions you will later choose between.
Act 1 maps
Six maps that widen the search for survivors and supplies. Act 1 widens the county considerably, and it is where most of the remaining companions are found, from the master mechanic to the heavy-melee bruiser. The named Act 1 maps of Urban Strife are:
| Map | What's here |
|---|---|
| Gas Station | Where the heavy-melee fighter Bear Novak is found. |
| Motel California | Where the master mechanic Reginald Owen is held. |
| Supermarket | Where Mary Saint is recruited. |
| Courthouse | Where John Adams is found. |
| FBI | Where Miguel Cordoba is recruited. |
| Scrapyard / FC HQ | Where the ex-FBI electronics specialist Jake Poppi is found. |
By the end of Act 1 you can have most of your twelve survivors recruited and a chosen faction well on the way to an alliance. This is the stretch of Urban Strife where the shelter should reach a stable footing, since the later maps and the siege demand it. The Gas Station, Motel California and the Scrapyard each hold a specialist worth the detour — the brawler Bear Novak, the master mechanic Reginald Owen and the electronics expert Jake Poppi — so plan your Act 1 route to bring them all home rather than leaving recruits stranded.
Act 2 maps
Six maps further from the shelter as the campaign escalates. Act 2 pushes further from Urban Shelter as the campaign escalates and the threats grow heavier. The named Act 2 maps of Urban Strife are:
| Map | What's here |
|---|---|
| Train Depot | A rail hub deeper into the county. |
| Graveyard | A fitting battleground in a world of the undead. |
| FEMA Hospital | A large medical site tied to the disaster response. |
| Highschool | An urban location to scavenge and fight through. |
| Hardware Store | A source of materials for rebuilding. |
| Firestation | Another fortified point in the town. |
These deeper maps of Urban Strife tend to be tougher fights against larger groups of undead, so bring a well-equipped squad and stock up on ammunition before you travel out to them. Sites like the FEMA Hospital, the Train Depot and the Graveyard are larger, more dangerous handcrafted spaces than the early suburbs, and they reward patience: scout at range, control the noise you make, and fall back to cover rather than trying to push through a horde in the open.
The endgame and the siege
Beyond the acts there are additional bases and a hidden endgame map, leading into the final chapter: the siege of Urban Shelter by the Atlanta Horde.
That final chapter is the payoff for everything you explored and stockpiled across Urban Strife. The Atlanta Horde arrives at Urban Shelter itself, and once the siege begins there is no more scavenging, so the county you cleared beforehand is the only reason you have the supplies to hold. Explore thoroughly through the acts and you reach the siege ready; skip too many maps and you arrive short of the ammunition and materials the defense demands.
Map names and the act structure are drawn from developer posts during the game's development, so treat the exact list as a strong guide rather than an official complete index; the game does not publish a total act count.